Configuring chains to your wallet
Configuring Chains in MetaMask
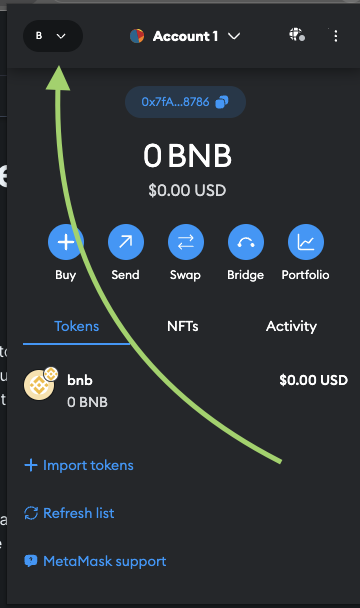
MetaMask is a popular Ethereum wallet and browser extension that allows users to manage their Ethereum accounts and interact with decentralized applications (dApps). We will use Metamask in this guide. To access the Multichain feature and add additional chains to your MetaMask wallet, follow the steps below:
Step 1: Install MetaMask Extension
If you haven't already, install the MetaMask extension in your web browser. You can download it from the official MetaMask website or the browser extension store of your choice (e.g., Chrome Web Store, Firefox Add-ons).
Step 2: Set Up MetaMask Wallet
Create a new MetaMask wallet or import an existing one if you already have an Ethereum account. Follow the on-screen instructions to set up your wallet, create a secure password, and back up your seed phrase.
Step 3: Access Settings
Once your wallet is set up, click on the MetaMask icon in your browser toolbar to open the extension. Click on the user avatar in the top right corner of the MetaMask window, then select "Settings" from the dropdown menu.
Step 4: Network Settings
In the settings menu, click on the "Networks" tab. This is where you can add, manage, and switch between different blockchain networks.

Step 5: Add Custom Network
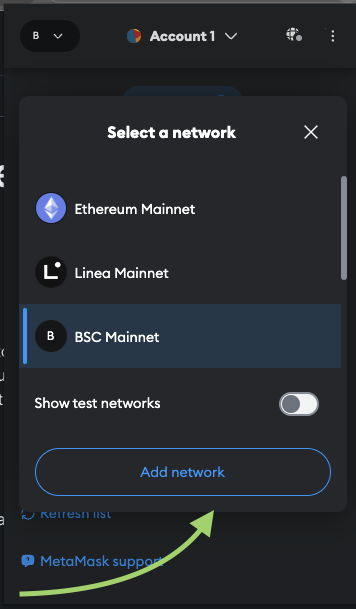
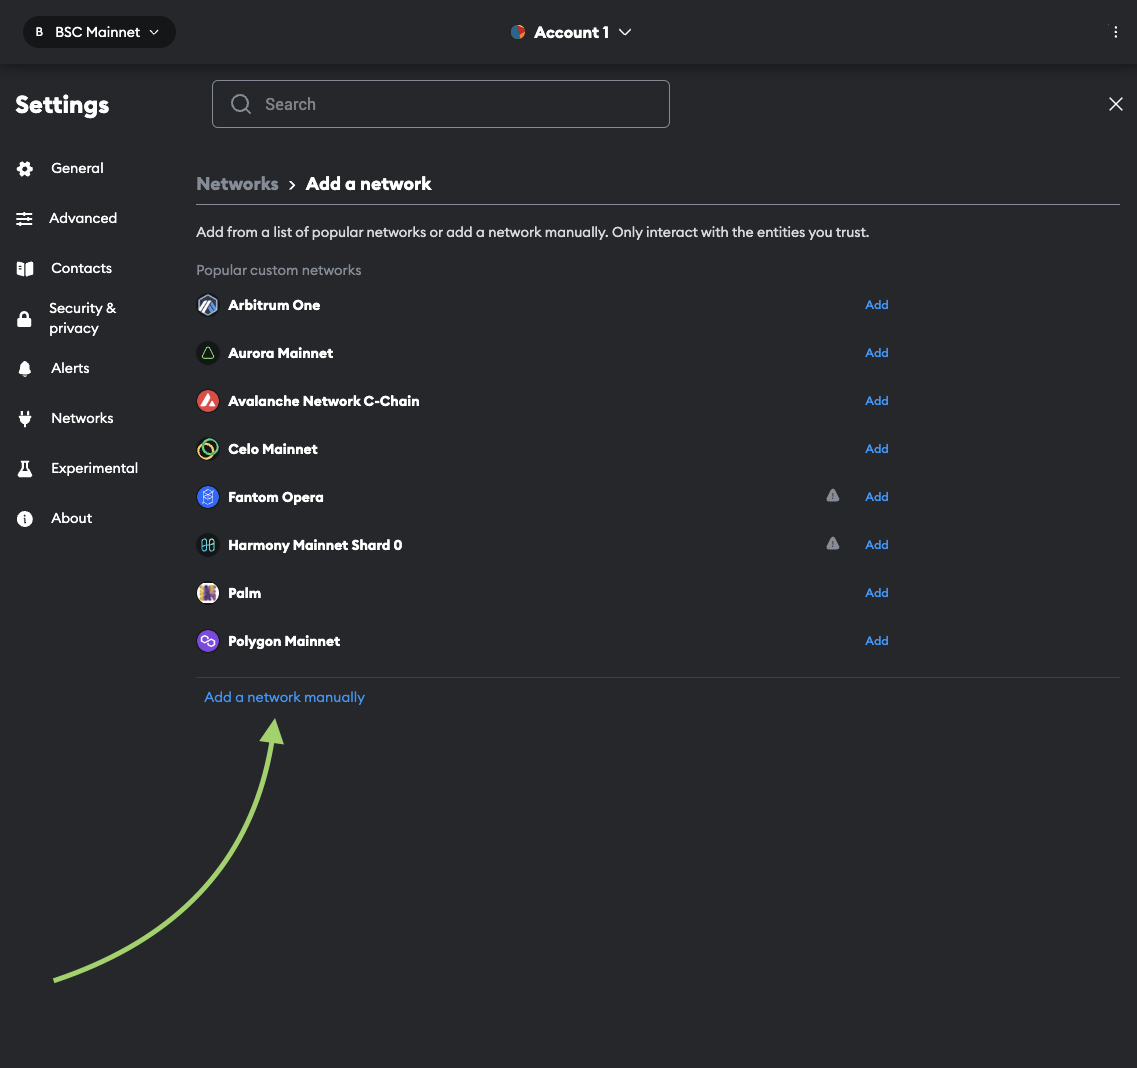
To add a new custom network (for example, the Binance Smart Chain or Polygon), scroll down to the bottom of the "Networks" tab and click on the "Add Network" button. Then you will see the list of available chains, from here you can choose desired chain or click "Add a network manually" button. We will add it manually.


Step 6: Fill in Network Details
In the "Add Network" dialog, enter the following details for the chain you want to add:
Network Name: Enter the name of the chain, such as "Binance Smart Chain" or "Polygon."
New RPC URL: Input the RPC (Remote Procedure Call) URL of the selected chain. You can find the RPC URL from the official documentation of the chain you want to add.
Chain ID: Enter the chain ID of the selected chain.
Currency Symbol: Provide the currency symbol for the chain (e.g., BNB, MATIC).
Block Explorer URL: Optionally, add the block explorer URL to view transaction details on the selected chain.
Click on "Save" to add the chain to your MetaMask wallet.
Here is useful links where you can find necessary details, RPCs etc.
BNB: https://docs.bnbchain.org/greenfield-docs/docs/guide/getting-started/wallet-onfiguration Polygon: https://wiki.polygon.technology/docs/tools/wallets/metamask/config-polygon-on-metamask/ opBNB: https://docs.bnbchain.org/opbnb-docs/docs/build-on-opbnb/wallet-configuration